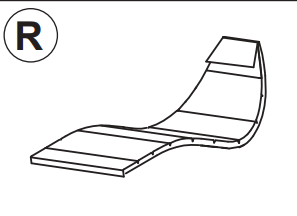
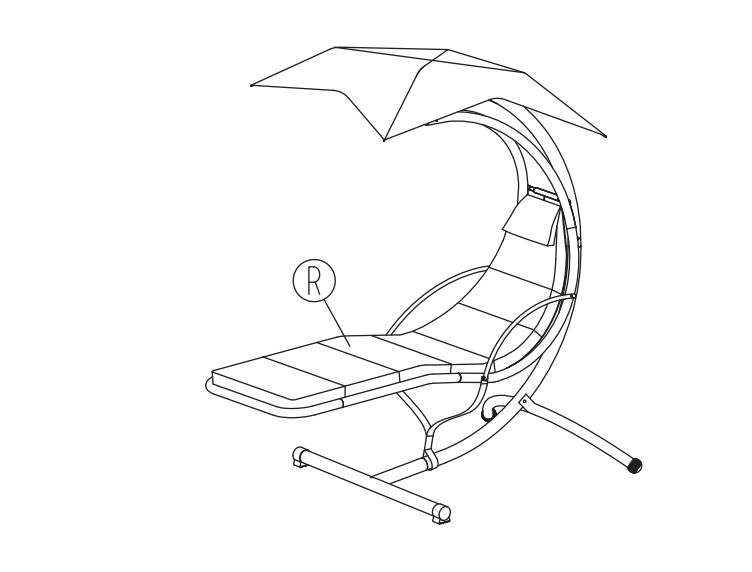
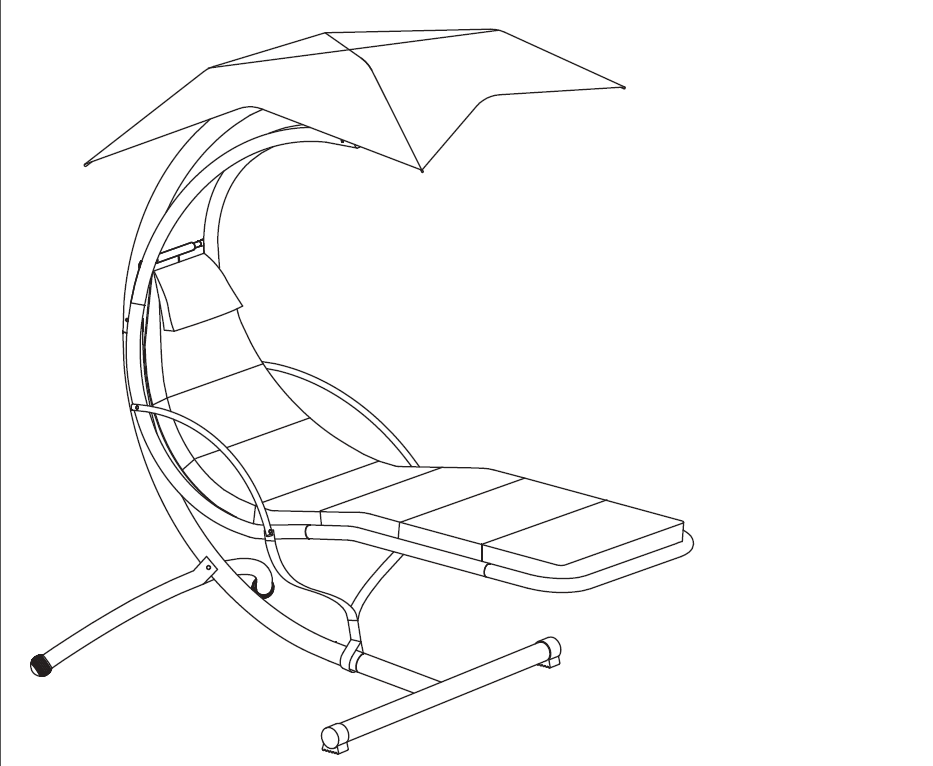
FLOATING CHAISE LOUNGE CHAIR Installation Manual
Lay back, relax, and create a soothing outdoor experience by softly swaying your body back and forth, side to side, in this product. This high quality Hanging Chaise Lounger with Stand features a heavy-duty steel full body support frame, a soft padded poly-filled cushion pad with a built-in durable pillow, and comfortable padded armrests.
A convenient adjustable umbrella shade is perfect for shading out direct sunlight as needed.
Please check the installation manual carefully and follow the installation steps strictly.
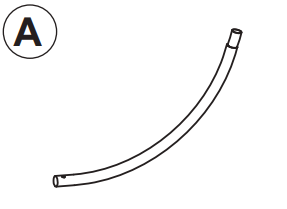

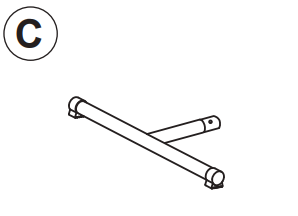
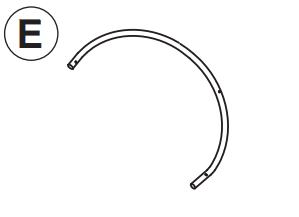
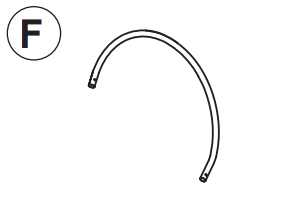
Lower Support Pole x1 Upper Support Pole x1 Front Base x1
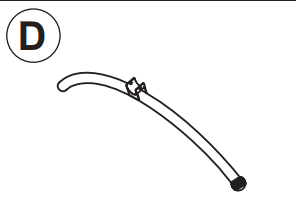
Back Base x1 Left Seat Back Pole x1 Right Seat Back Pole x1
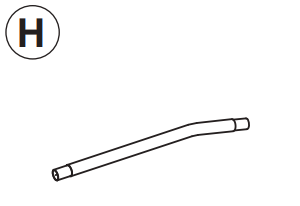

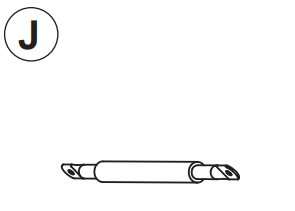
Right Seat Pole x1 Left Seat Pole x1 Front Seat Frame x1
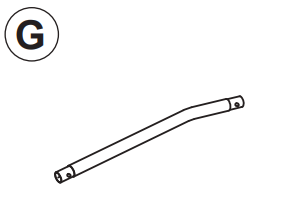
Seat Frame Brace x1 Umbrella Frame x1 Armrest x2
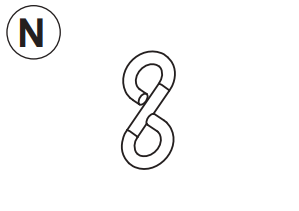
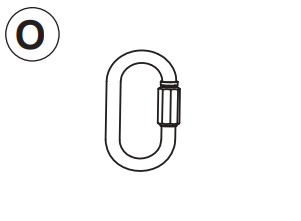
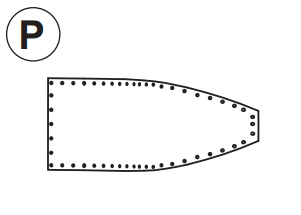
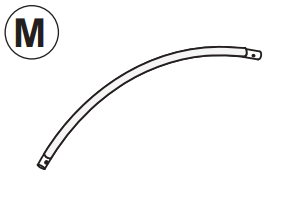
Closed S-Hook x1 Quick Link x1 Seat Web x1
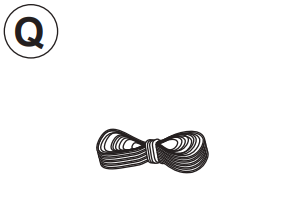
Rope x1 Chair Cushion x1 Umbrella Canopy x1
M8x95 Bolt Set x1 M8x80 Bolt Set x1 M8x72 Bolt Set x1
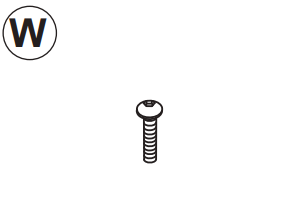
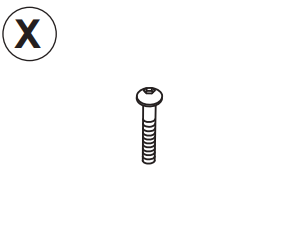

M8x15 Bolt x2 M8x30 Bolt x4 M6x15 Bolt x2

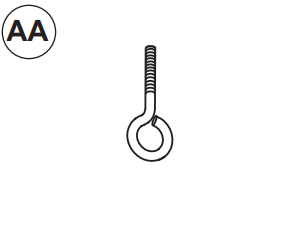

Safety Strap x1 Eye Bolt x1 Nut Set x1
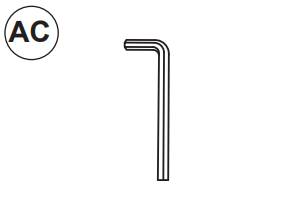
Hex Key x2 2 Spanner x1
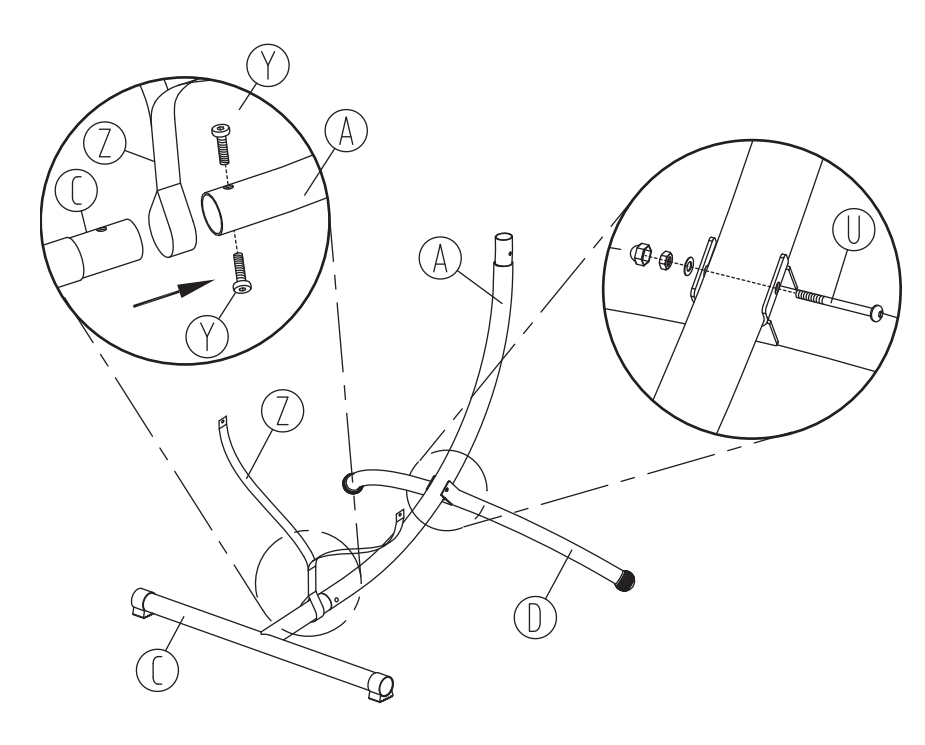
STEP 1
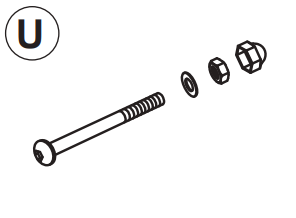
Connect Lower Support Pole (A) to Back
Base (D) using M8x80 Bolt Set (U).
Slide Front Base (C) through the loop on
Safety strap (Z), then into the lower support
pole, as shown.
Align the holes of the front base and lower
support pole and secure with 2x M6x15
Bolt (Y), as shown.
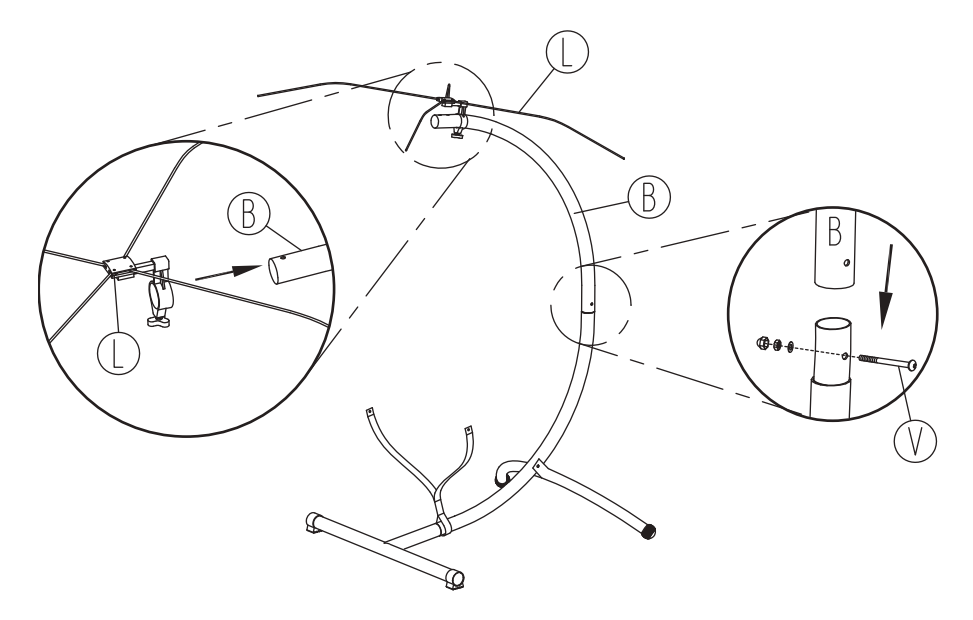
STEP 2
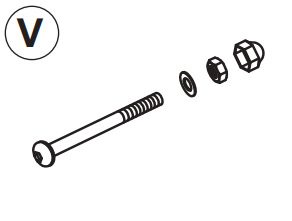
Place Upper Support Pole (B) onto the
lower support pole. Align the holes and
secure with M8x72 Bolt Set (V).
Slide Umbrella Frame (L) onto the upper
support pole. Ensure the umbrella frame
is beyond the hole at the end of the upper
support pole and secure to the pole.
NOTE: Avoid over-tightening the threaded knob
on the umbrella frame as it may damage the finish
of the stand.
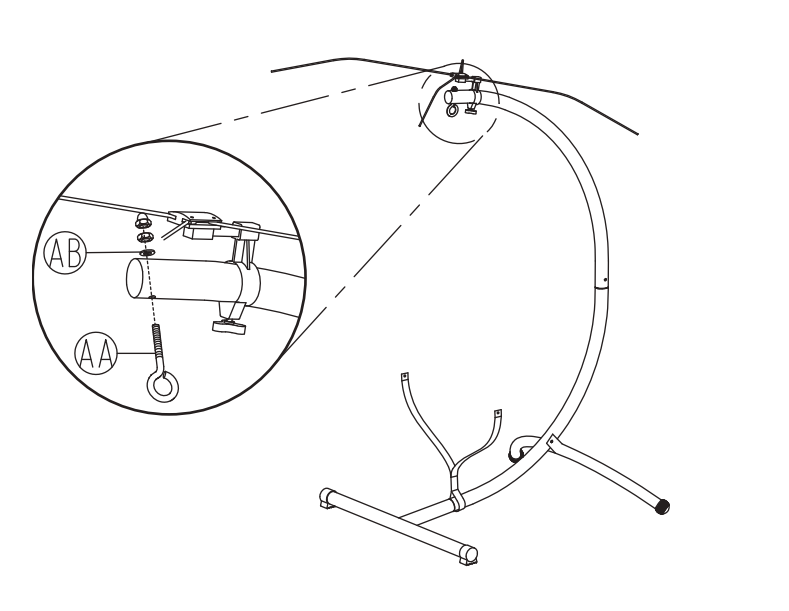
STEP 3
Insert Eye Bolt (AA) through the underside
of the hole on the uppers support pole.
Secure the eye bolt using Nut Set (AB)
STEP 4
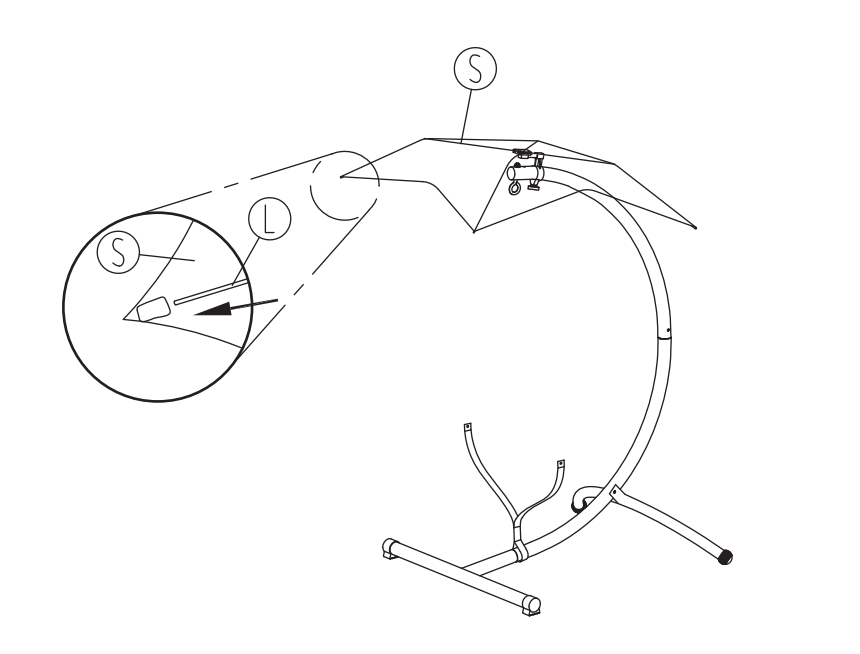
Place Umbrella Canopy (S) onto Umbrella Frame (L).
Slide the ribs into the plastic caps that are sewn into the ends of the umbrella canopy.
NOTE: The canopy is intended to fit tightly. Some force may be required but take care not to bend the ribs of the umbrella frame.
STEP 5
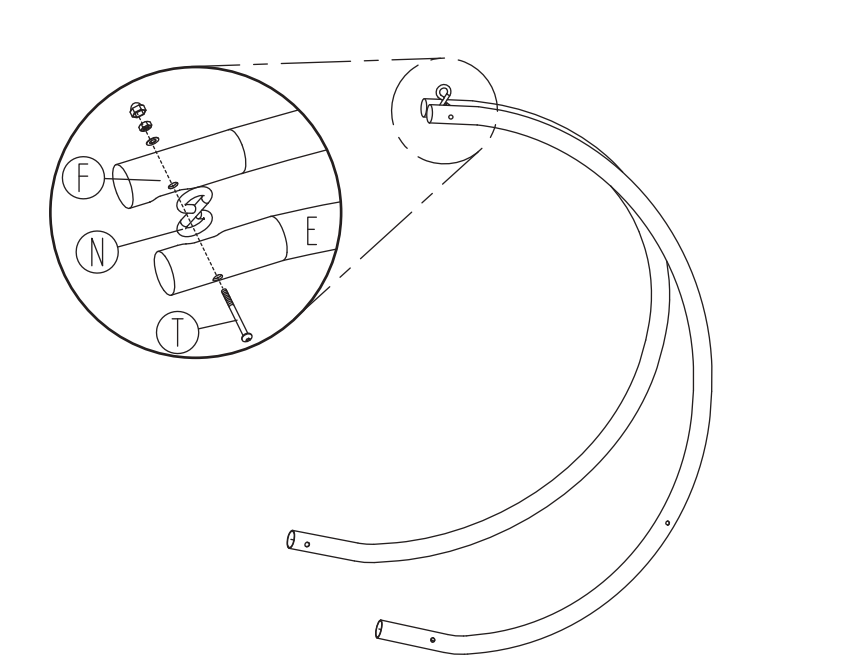
Identify the tops of Seat Back Poles (E & F); the top will have a plug in the end.
Ensuring the holes to secure the arms are on the outsides of the poles.
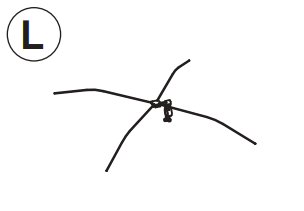
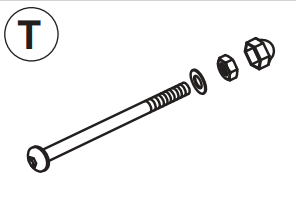
With Closed S-Hook (N) in between Left Seat Back Pole (E) and Right Seat Back Pole (F), secure components with M8x95 Bolt Set (T), as shown.
STEP 6
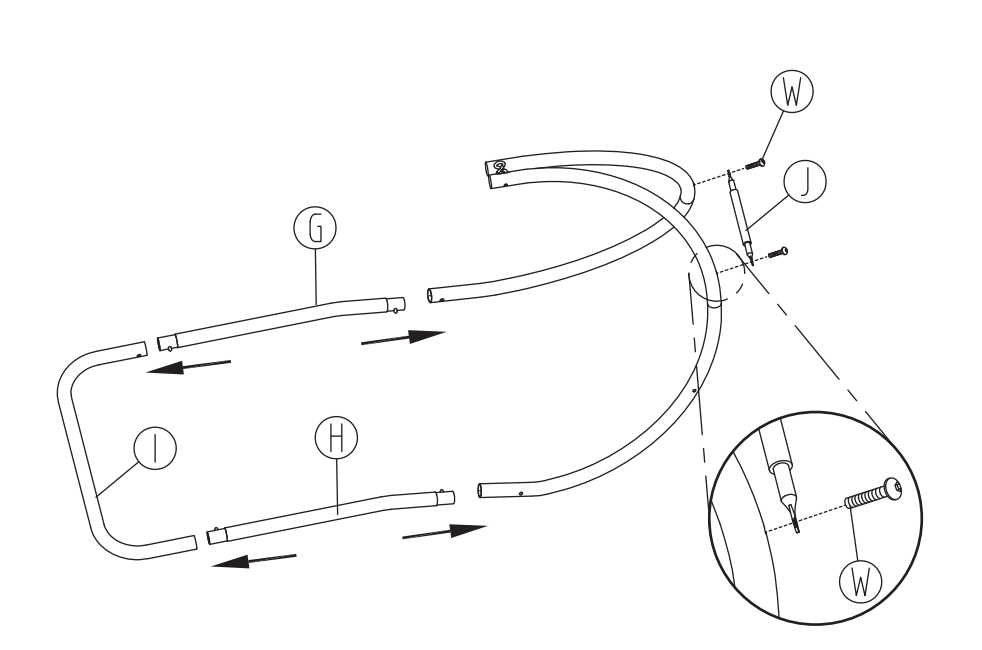
Press the button spring clip on Right Seat Pole (G) and slide it into Front Seat Frame (I), the button will snap into place.
Press the button spring clip on Left Seat Pole (H) and slide it into Front Seat Frame (I), the button will snap into place.
Connect the assembled seat to the seat back poles, as shown.
Attach Seat Frame Brace (J) to the backside of the seat poles using 2x M8x15 Bolt (W).
STEP 7
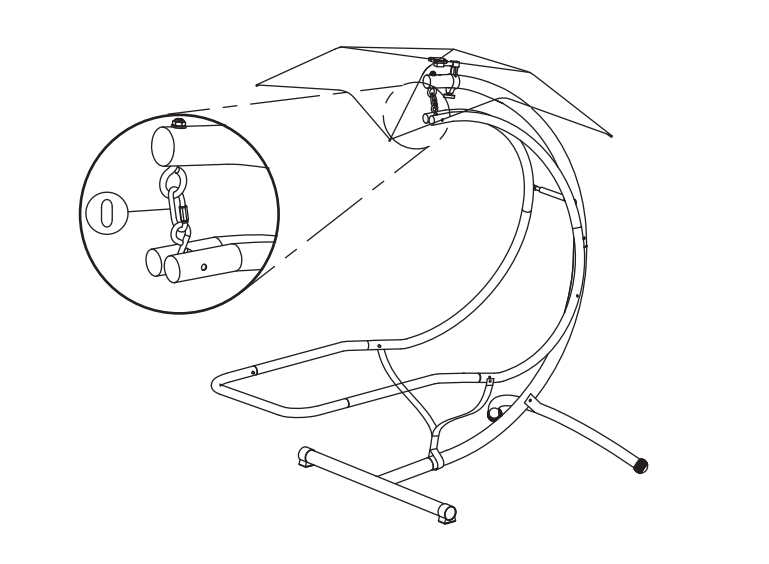
Unscrew the nut on Quick Link (O) and
hang the link on Eye Bolt (AA).
Hang the assembled chair by placing
Closed S-Hook (N) in Quick Link (O).
Screw the nut on the quick link closed,
ensuring it is tightly fastened.

STEP 8
Align Armrest (M) with the holes on the side of chair.
Loosely connect the top of Armrest (M) to the floating chair using 1x M8x30 Bolt (X), as shown.
Run 1x M8x30 Bolt (X) through the bottom of Armrest (M), then through Safety Strap (Z), and into the side of the floating chair, as shown.
Tighten armrest hardware and repeat this step to attach the second armrest.

STEP 9
Unravel Rope (Q) and fold in half to find the
center-most point of the rope.
Beginning at the footrest, attach Seat Web
(P) to the floating chair by running Rope
(Q) through the eyelets of the seat web and
around the chair frame.
Tips: To help keep the rope length even on both
sides, switch between the left and right side every
few eyelets.
After initial installation of the seat webbing, start
back at the footrest and pull the rope every few
eyelets to ensure the seat webbing remains taut.
Once seat web is taut, wrap excess rope
to the chair frame, above the frame brace,
leaving enough rope to tie/knot the ends.
STEP 10
Tie Chair Cushion (R) onto the chair.
USE AND CARE
Under normal use, our Customizedoutdoor furniture will last for years.
It is important to follow basic use & care tips to prolong the life of your floating lounger.
SAFE USE: Do not use this fashion floating lounge chair for swinging, bouncing, jumping, or any other excessive
movements; doing so may cause serious injury, including, but not limited to, the stand tipping over.
SUN EXPOSURE: All fabrics will eventually fade from sun exposure. Maintain fabric color and integrity by
storing the cushion and umbrella canopy indoors when not in use.
CHILDREN: Supervise children at all times. Do not allow children to play on or sleep in the lounge chair.
INSPECTION: Ensure the unit is assembled correctly and all hardware is securely tightened before every use.
CLEANING: Use a soft cloth, warm water and mild detergent to wipe down the unit. Dry the stand after
cleaning to prevent rust. Do not use chemicals or abrasive materials to clean any part of the unit.
STORAGE: Store the cushion and umbrella indoors when not in use. Store the stand and chair in a cool,
dry location to prevent damage and rust that may result from exposure to moisture and weather elements.
SCRATCHES: The powder coating on the stand and frame is tough and durable but, even under normal
use, some scratching is inevitable. To avoid excessive rust, wipe off moisture as necessary.
SAFETY STATEMENTS AND WARNINGS
Do not exceed the weight limit: 260 pounds
This product is intended to be used by one person at a time.
Use caution when sitting in the chair. Enter and exit the chair near the armrest only, with your feet firmly on the ground.
Do not swing, bounce, jump, twist, or spin in the chair.
The chair must be used with the provided safety strap attached to the stand and chair as shown in the assembly.
Install all parts in accordance with the assembly instructions and inspect the stand before use.
Ensure all hardware is securely installed and tightened before each use.
Always inspect the chair, stand and hardware for damage before each use.
Do not allow children to use this product without adult supervision. This floating lounger is NOT a TOY